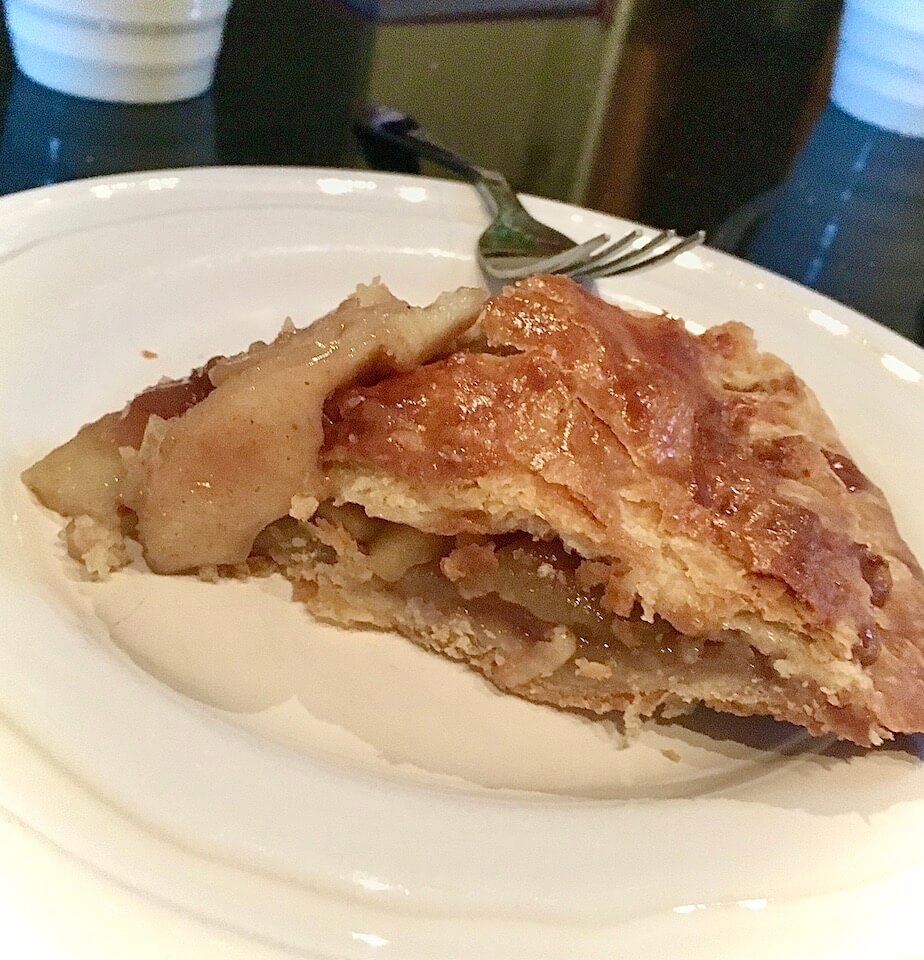
All-American Apple Pie
September 30, 2019 - Recipes
~the apples~
The most important part of a delicious apple pie is…you guessed it, apples. Lots of nice fresh apples, as many different varieties as you can get. That’s because every different type of apple bakes up differently, so not only will you get more depth of flavor, you’ll get lots of textures. In this recipe, I used five different kinds of apple – two of each. It’s a lot of apples!
I went with Honey Crisp , which is the apple for pies (if you had to pick just one); Golden Delicious , which have a nice mild flavor and don’t compete too much with other apples; Jonagold , which are a Golden Delicious hybrid and have a lovely tart flavor; Roma , which are recognizable in that they look like the classic super shiny, bright red apple the Queen uses to poison Snow White; and Pink Lady , which are popular to eat on their own but also have an almost sour quality great for balancing sweetness.
~the crust~
The next thing you’ll want to decide is whether to make your own crust or buy one from the store. No shame in some store-bought crust, but it’s also easier than it’s made out to be just to throw together your own. The main thing is to keep everything really cold; I put everything in the fridge – rolling pin, flour, butter, bowl, pie tin…everything. It just saves the frustration of anything starting to melt. I also have a pastry cloth, which I think saves me from having to flour the table every 5 seconds, but that’s totally preference. If you wanted to try using a “pastry cloth,” it’s basically just a big piece of unbleached cotton, so no need to go buy anything special. If you do want to make your own dough, the general recipe is this:
2-2 ½ cups all-purpose-flour
16 tablespoons butter
1 teaspoon salt
1 tablespoon sugar
¼ cup ice water
¼ cup apple brandy
Some people use half butter/half leaf lard (or even all lard, but leaf lard is a pain to find and an even bigger pain to render yourself, so I say stick with butter). You can also just use ½ cup ice water instead of half water/half brandy – I started doing this after reading on Serious Eats that using some hard alcohol in place of water can cut down on gluten development in the dough, thus resulting in a flakier crust, but the recipe works just as well with only water.
Start with your 2 cups of all-purpose flour, salt, and sugar sifted together in a big bowl (preferably refrigerated). Take your very cold butter and cut it up into cubes. Throw these cubes in your flour, toss them around a little, and then begin taking the butter cubes between your fingers and pinching them into the flour. You’re going to do this until the chunks of butter are all between the size of a pea and a walnut.
Once that’s done, alternate between adding a tablespoon of water and a tablespoon of brandy until the dough comes together enough that if you squeeze a palmful, it doesn’t all crumble apart once you open your fist. There will be visible pockets of butter still, but that’s what you want. You now have your dough! Divide it into two equal portions, wrap them plastic wrap in a roughly flat oval shape (so they’re easier to roll later), and put them in the refrigerator. You want to refrigerate these for ideally 24 hours, but in a pinch an hour is fine.
~the filling~
1 gallon apple cider + 1 tablespoon cider vinegar
¾ cup sugar
3 tablespoons all-purpose-flour
1 teaspoon cinnamon
¼ teaspoon nutmeg
Pinch salt
When you’re ready to start assembling your pie, your first step will be to skin and slice all your apples. I use this contraption that I got on Amazon for like twenty bucks a number of years ago – it looks odd but it does peel, core, and slice your apples really evenly, so I like it. Whatever method, you’ll have to get your apples peeled and sliced to medium thinness. To keep them from browning too much I always toss in a tablespoon or two of apple cider vinegar.
This is where things get a little complicated. Don’t get me wrong, at this point you could probably throw your apples in some cinnamon sugar, bake it all up and have a perfectly presentable apple pie. But, if you really want the most beautifully rich apple flavor, there are a couple of extra steps.
First, par-baking the apples. Once you have your apples sliced, boil up about a gallon of apple cider (or juice…and yeah you could use water, but why give up the chance to impart even more apple flavor)? Once that’s boiling, take it off the heat and pour right onto your apples – leave the mixture there for 10 minutes, then drain. I won’t lie I usually drain my apple cider right back into the jug, since all it’s touched are other apples and I usually heat it back up to drink anyway. You can leave your apples in the colander or whatever you used to drain them, because next you’re going to stir in the sugar, flour, cinnamon, nutmeg, and salt, and set up a bowl underneath for any remaining liquid to drain into. Leave your spiced apples to macerate and drain for about half an hour.
After 30 minutes, pour whatever liquid has drained out of the apples into a saucepan, set over medium heat, and stir occasionally until the liquid has thickened (there’s no real set time for this since the amount of liquid coming off of your apples can vary, but you should notice when the thickening starts, probably around 10ish minutes)
~assembling~
While your macerated liquid is simmering down or cooling, you can pull one of your rounds of pie dough out of the refrigerator, unwrap it, throw a bunch of flour down on whatever surface you’ve decided to use, and just start rolling! You’re working towards a round that will hang a couple of inches off your pie tin. Keep rolling and rotating your dough until it’s big enough, and roughly the same thickness all over. Place the newly rolled dough over/in your pie pan (usually the best method of moving rolled-out dough is to drape it over your rolling pin), and ideally put that back into the refrigerator as you take out the second round to repeat the rolling process.
Once your second round is rolled out, take your pie tin back out of the fridge and pour in your seasoned apples. Don’t worry, it’s supposed to look like you’ve overestimated how many apples your pie tin can hold! Now, take the liquid you’ve just thickened up off the stove and pour it back over the top of your apples. You can also dot the top of your apples with a little bit of butter. Then, take your second rolled-out pie round, and drape that over the top. You can now take the extra few inches of dough hanging over the sides and pinch them together in a little pattern if you’re feeling fancy, or you can hold true to the classic and press some fork tongs around the rim of your pie tin to seal. Whatever you choose, cut some slashes in the top of your pie to let the steam escape while it’s baking, brush it with whatever version of an egg wash you prefer, and you’re ready to bake!
Bake at 425°F for 15 minutes, then lower heat to 375°F for the remaining 40 minutes